

A sewing machine is an essential tool for anyone who enjoys sewing or needs to mend clothes. However, like any other machine, it can break down or malfunction over time.
Knowing how to disassemble, clean, and put it back together can save you a lot of time and money in the long run. In addition, it will give you a better understanding of how your machine works and help you troubleshoot any future problems.
The process of putting a sewing machine back together may seem daunting at first. But with practice and patience, you can do it yourself without having to take it to a repair shop.
It’s important to note that different brands have different models of machines with varying components. Therefore, checking the user manual for detailed instructions specific to your machine is highly recommended.
Wondering about the energy requirements of your sewing machine? Check out our comprehensive guide on how many watts a sewing machine uses to understand its power usage.
The Different Parts and Components Involved in the Process
A sewing machine consists of various parts and components that are interconnected and dependent on each other for proper functioning. The most crucial parts include a needle bar, presser foot, bobbin case, hook race assembly, feed dog system, tension disks/knobs/washers/plates/bars/springs etc., handwheel/crankshaft/main shaft etc., motor belt/pulley/wheels/etc., power switch/foot pedal/cord etc., light bulb/socket/lens/etc. Each part has its unique function in the stitching process.
The needle bar holds the needle while the presser foot holds fabric in place against the feed dogs. The bobbin case holds the bobbin thread while passing through the hook race assembly that creates stitches using top and bottom thread interlock mechanism by rotating around its shaft and oscillating horizontally (side-to-side) simultaneously.
The tension disks/knobs/washers/plates/bars/springs control the amount of tension on both threads, which affects stitch formation and quality. The handwheel/crankshaft/main shaft moves the needle up and down, while the motor belt/pulley/wheels provide power to the machine.
The power switch/foot pedal/cord allow you to turn your machine on and off or control its speed. Now that we’ve covered the basics of why it’s important to know how to put a sewing machine back together and what parts are involved in the process let’s move on to how to disassemble your machine in our next section.
Need to remove the handwheel from your sewing machine? Follow our step-by-step tutorial on how to remove the handwheel from a sewing machine for maintenance or repair.
How to Disassemble a Sewing Machine?
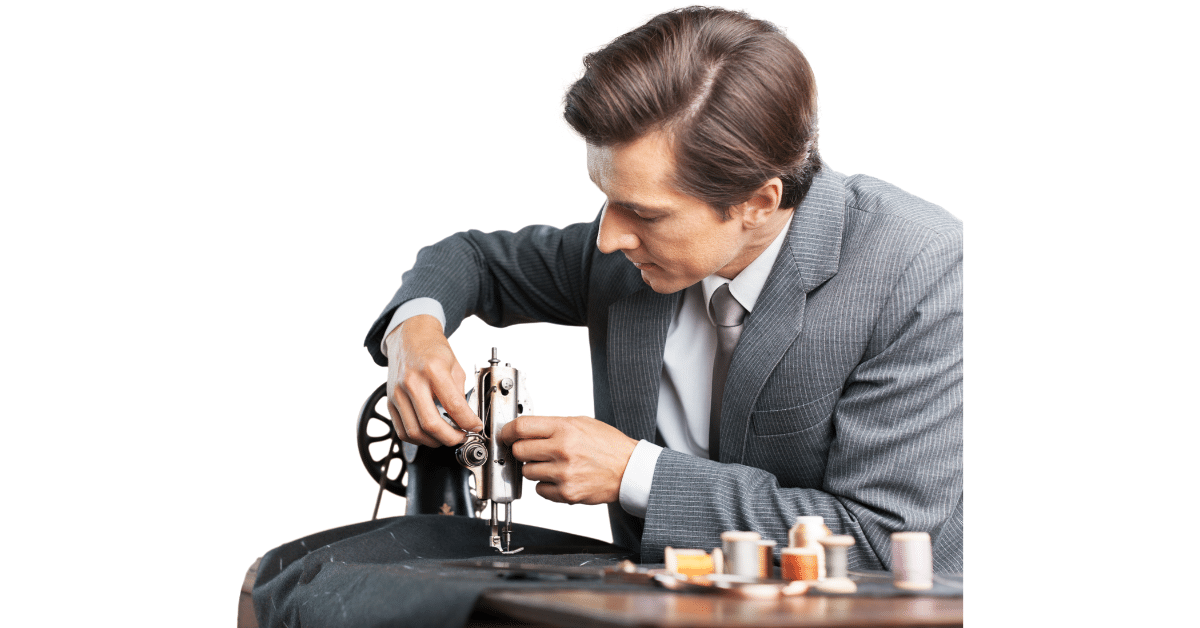
Disassembling a sewing machine can seem like an intimidating task, but with the right tools and approach, it can be quite straightforward. Before you begin, make sure you have the following tools on hand: screwdrivers (flathead and Phillips), pliers, tweezers, and a small brush for cleaning.
Start by unplugging the machine and removing any loose or detachable parts such as the needle, presser foot, and bobbin case. Then remove the top cover if there is one.
This will usually be held in place by screws around the perimeter of the cover or underneath it. Carefully set this aside.
Next, remove any visible screws that hold the body of the sewing machine together. These will vary depending on your specific model but may include screws near the base of the machine or along its sides.
Keep track of where each screw came from so that you can put them back in their proper place later. Once all visible screws have been removed, it’s time to separate any remaining components that are holding your sewing machine together.
This may involve gently prying apart plastic clasps or using pliers to release metal clips. Take care not to force anything too hard as this could damage delicate parts. Tips on labeling and organizing parts for easy reassembly
As you disassemble your sewing machine, take a few moments to label each part with masking tape and a marker pen. This will help you keep track of where everything goes when it comes time for reassembly. If there are multiple pieces that look similar (such as different types of screws), organize them into separate containers or baggies so that they don’t get mixed up.
If possible, take photos of each step in your disassembly process so that you can refer back to them later if needed. This can be especially helpful if you’re not confident in your memory of how things were put together.
Keep all parts and tools organized in a tidy workspace so that you don’t lose anything or accidentally break any small components. A clean workspace will also make it easier for you to focus on the task at hand without being distracted by clutter or mess.
Is your sewing machine frozen and unresponsive? Learn effective techniques to unfreeze it in our comprehensive guide: How to Unfreeze a Sewing Machine?
Cleaning and Maintenance
The Importance of Cleaning and Maintaining Each Component Before Reassembly
Before reassembling a sewing machine, it’s crucial to clean each component thoroughly. Dust, dirt, and debris can accumulate in different parts of the machine over time, affecting its performance.
Neglecting to clean or maintain your sewing machine can cause it to malfunction or break down entirely. The importance of cleaning and maintaining each component becomes even more apparent when dealing with vintage or antique machines.
These machines often have delicate or intricate components that require extra care during cleaning. Failure to maintain these components correctly can result in permanent damage or degradation.
Recommended Cleaning Tools and Techniques
When cleaning your sewing machine, you should use specialized tools designed for the job. Avoid using household cleaners as they contain chemicals that may strip away lubrication from specific parts of the machine.
Some recommended tools for cleaning a sewing machine include small brushes, compressed air cans, microfiber cloths, and lint rollers. Your manual may suggest other cleaning tools that are specific to your model.
When using brushes to clean delicate parts of the sewing machine such as gears or springs, be gentle not to bend or damage any moving parts. With compressed air cans, keep a safe distance from the device while blowing away any dust.
Regular cleaning and maintenance are essential in ensuring that your sewing machine works optimally without hiccups. Make sure you refer to your device’s manual before starting on disassembly and assembly processes for proper guidance on maintenance techniques specific to your model.
Reassembly
Detailed Instructions on Putting Each Part Back in Place
Now that you’ve taken apart your sewing machine and given it a good clean, it’s time to put it back together. But where do you even start? Don’t worry, we’ve got you covered.
First, refer to your labeled bags or trays of parts to make sure you have everything you need. Then, grab your user manual or an online guide specific to your machine model for reference.
Start by putting the larger components back into place such as the hook race assembly or bobbin case before moving onto smaller pieces. Remember to take it slow and steady when reassembling your sewing machine.
Rushing can lead to incorrect placement of components and potentially cause damage. Go step-by-step and double-check each part is correctly seated before moving on.
Don’t let the threading process of your Euro Pro 464xc sewing machine confuse you! Check out our comprehensive guide on threading the Euro Pro 464xc to get it right every time.
Tips on Adjusting Tension, Timing, and Other Settings
Once all the parts are in place, it’s time to make any necessary adjustments. One of the most important is tension adjustment, which affects how tightly the thread is pulled through the fabric.
Check your manual for guidance on how to properly adjust tension for your specific machine. Timing adjustment may also be necessary if you’ve removed any timing-related components during disassembly.
Again, consult your manual for guidance on how best to adjust timing depending on what type of machine you have. Take some time to fine-tune other settings such as stitch length or width that may have been altered during disassembly.
This will ensure optimal performance once the machine is up and running again. By following these tips and carefully reassembling each part while making proper adjustments along the way, you should have no trouble getting your sewing machine back in tip-top shape!
Testing
Putting It to the Test: How to Test the Machine After Reassembly
Now that you’ve successfully put your sewing machine back together, it’s time to test it out! Before you start sewing on your latest project, there are a few things you should do to ensure that everything is working properly.
First, plug in your machine and turn it on. Run a few stitches on a scrap piece of fabric to make sure that the thread tension is even.
You can adjust the tension as necessary by turning the tension dial. Try stitching at different speeds and see how well the machine handles them.
If everything seems normal, move on to checking other functions. Next, test out different stitch lengths and widths by adjusting their respective dials or buttons.
Make sure each stitch is being formed accurately and consistently. This may require some minor adjustments after testing.
Struggling to measure 1/4 inch on your sewing machine? Learn easy techniques and tips in our detailed guide: How to Measure 1/4 Inch on Sewing Machine?
Common Issues That May Arise During Testing
Despite your best efforts, some issues may arise when testing your reassembled sewing machine. Here are a few common ones and what you can do about them:
- Thread bunching: If you notice thread bunching up underneath or above the fabric while stitching, this usually means there’s an issue with thread tension or threading itself. Re-threading the machine while ensuring each step is done properly could alleviate this problem.
- Needle breakage: Needle breakage could be caused by using an improper needle size for thicker fabric or not securing it tightly enough during reassembly.
- Skipping stitches: Skipping stitches indicates either too loose or too tight of a bobbin thread setting which could be easily fixed by making slight adjustments.
If any of these issues arise during testing, don’t worry – they’re all fixable! Simply take apart any sections needed carefully and make whatever adjustment is necessary before putting everything back together again.
Troubleshooting

Possible solutions for common issues such as thread bunching or needle breakage
Sewing machines can be finicky beasts, and even with proper maintenance and assembly, problems can still arise. Here are some common issues that you may encounter when putting your sewing machine back together, and possible solutions to fix them.
Thread Bunching
Thread bunching is a frustrating problem that can cause uneven stitching and tangled thread. If you notice this issue, the first thing to check is the bobbin.
Make sure it’s properly loaded and threaded through the machine. Also check the tension of the upper thread by adjusting it slightly.
Too much tension can cause bunching, but too little tension can cause loose stitches. Another possible culprit of thread bunching is a dirty machine.
Make sure to clean out all dust, lint, and debris from the bobbin case area before reassembling. A final solution could be changing your needle or using different thread types.
Needle Breakage
Needle breakage is another frustrating issue that can occur when putting your sewing machine back together. It’s important to use the correct size and type of needle for your fabric project as this could greatly affect how well your sewing machine works.
If you’re experiencing repeated needle breakage while sewing with only one layer of fabric properly installed in your sewing machine then it could be caused by improper placement of needle or improper threading of upper threads. In case it occurs with multiple layers of fabric present on needles then ensure that you are using an appropriate gauge size needle for multiple layers – heavier fabrics require thicker stronger needles which would not break easily.
Looking for a sewing machine that can handle heavy-duty canvas projects? Check out our top recommendations for the best sewing machines for canvas and take your sewing to the next level.
Machine Not Sewing At All
If your sewing machine isn’t moving at all despite being assembled correctly then there might be issues with power supply like fuse has blown, switch might be faulty or motor is dead. If the machine moves but does not sew, check that the needle is installed correctly, and it’s in the right position. Ensure that there is enough of a gap between the needle and bobbin case so that thread can pass between them.
If all else fails try resetting your sewing machine to factory settings or consult a professional to diagnose and fix any issues. While putting a sewing machine back together can seem intimidating at first, with proper knowledge of its parts and troubleshooting techniques you could ensure its smooth functioning for years to come.
Final Thoughts
In conclusion, maintaining and assembling your sewing machine properly is crucial for its longevity and optimal performance. By dedicating time to cleaning, lubricating, and inspecting your machine, you can prevent damage and reduce the need for repairs or replacements, ultimately saving you money.
A well-functioning sewing machine greatly enhances your sewing experience, providing ease-of-use, accuracy, and overall enjoyment. Learning how to assemble your sewing machine yourself empowers you to maintain its quality and performance over time.
The sense of satisfaction that comes from successfully putting your sewing machine back together is both rewarding and empowering. It gives you control over your equipment and boosts your confidence as a sewist.
By following the steps outlined in this article, including careful disassembly, thorough cleaning, and meticulous assembly, you can ensure that your sewing machine remains in top shape, allowing you to continue creating beautiful projects with confidence and joy. Happy sewing!
